 |
 |
 |
 |
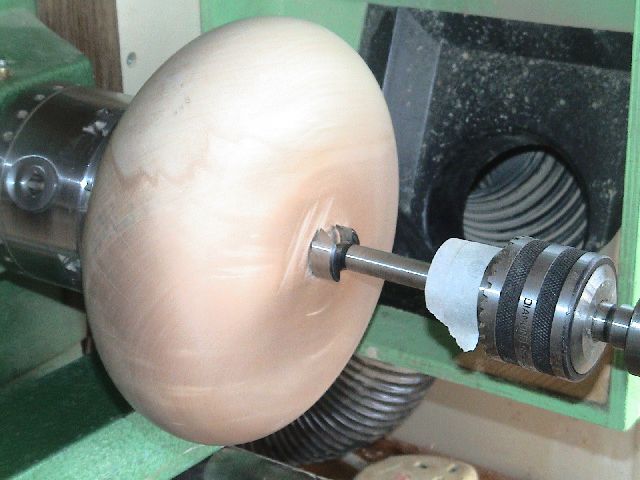
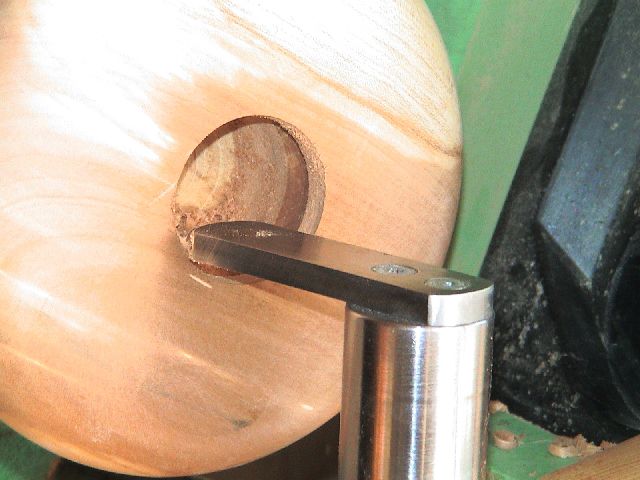
| With the largest drill bit
available, (saw tooth forsterner bits ideal) mark your required depth on
the drill shank or chuck with some masking tape.
With hard woods a series of increasing diameter holes may be needed to reduce heat and loads. |
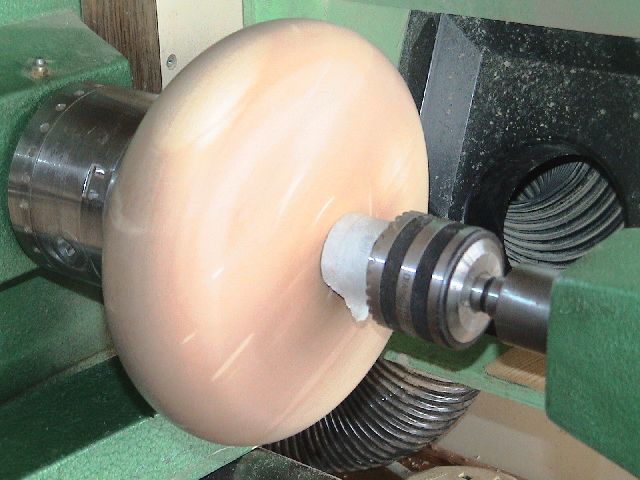
Drill to marked depth.
(Small drill used here for demonstration.) |
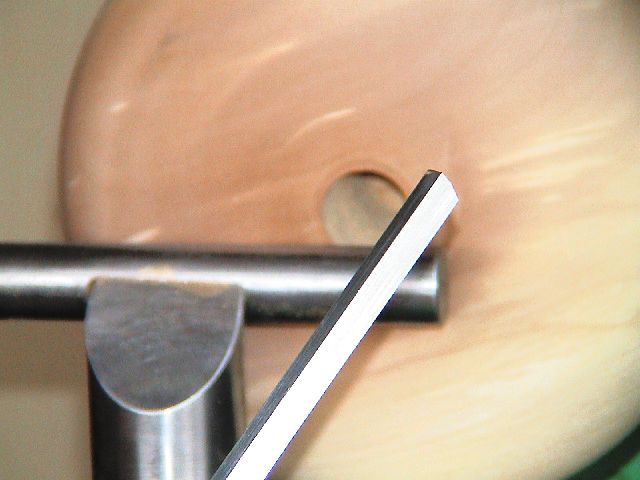
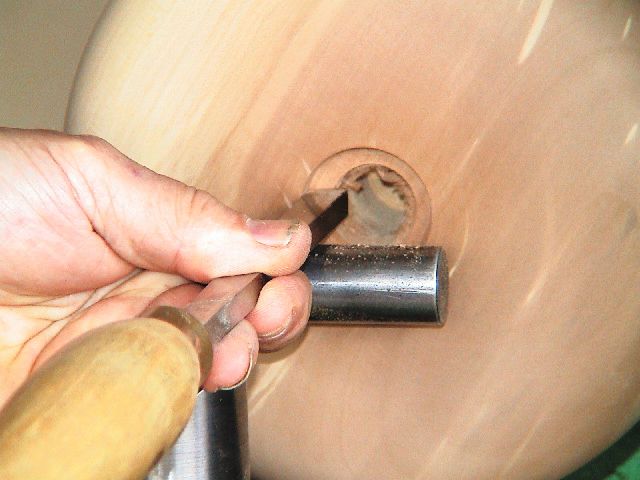
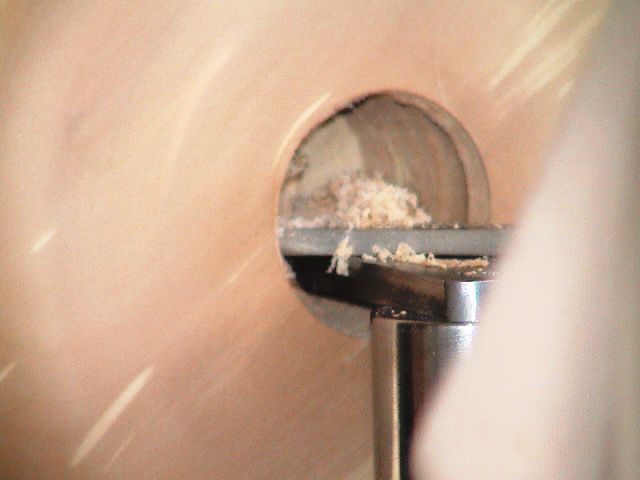
Use either of the following tools
to open up the bore.
Narrow stiff (thick) Flat Scraper or Shallow Ground Bowl Gouge with straight across grind. |
With the Scraper plunge cut the bore in small partial width cuts. |
 |
 |
 |
 |
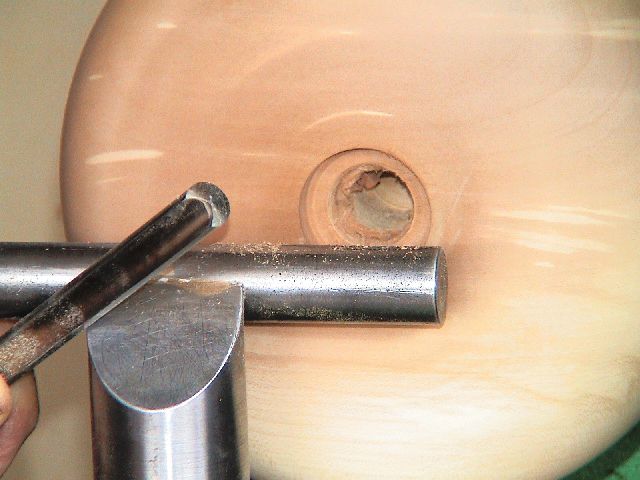
| Slowly increasing the diameter. | Alternately do the same with the Bowl Gouge. | Hold the Gouge with the Left Hand cutting flute pointing at 9 O'Clock. | Just make sure that the Gouge does not rotate anti-clockwise so that the Right hand flute catches. |
 |
 |
 |
 |
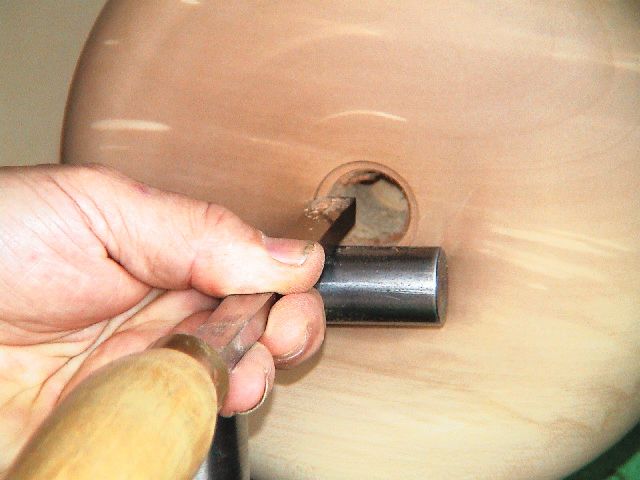
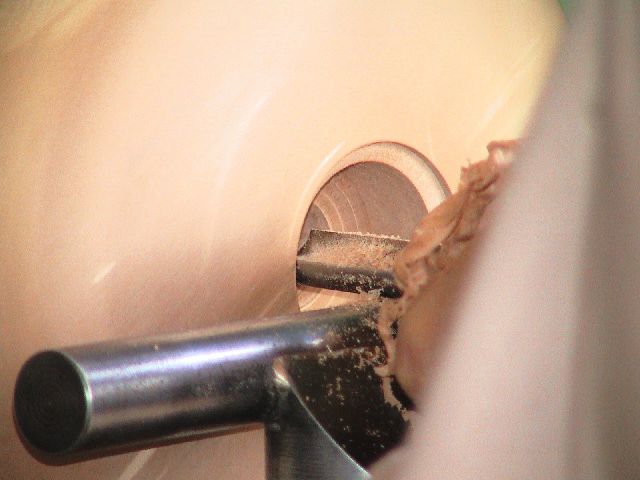
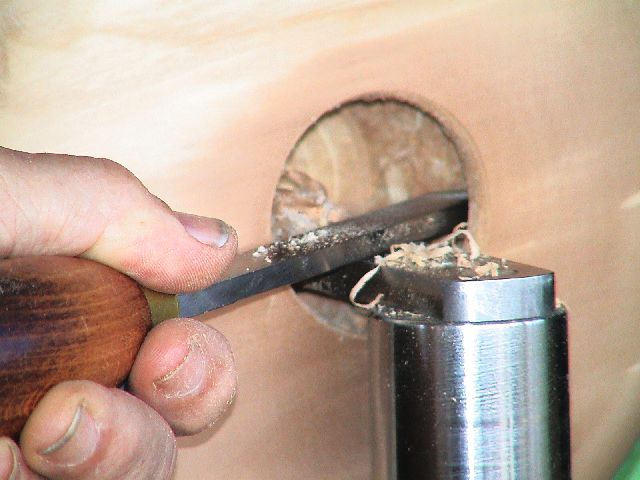
| Proceed to remove successive plunge cuts until desired diameter is reached. | If the bore is deep enough that you are starting to get loss of control due to tool overhang then do the depth in stages using a suitable tool rest to provide support. | To finish off internal shaping or hollowing move the rest as far in as possible to reduce the tool overhang. | Here I am using a simple
1/2" Round Nosed scraper which may be all that is needed for a Vase.
In fact because this Horse Chestnut was easy to cut the whole thing was hollowed to less than 1cm wall with a scraper. |
 |
|||
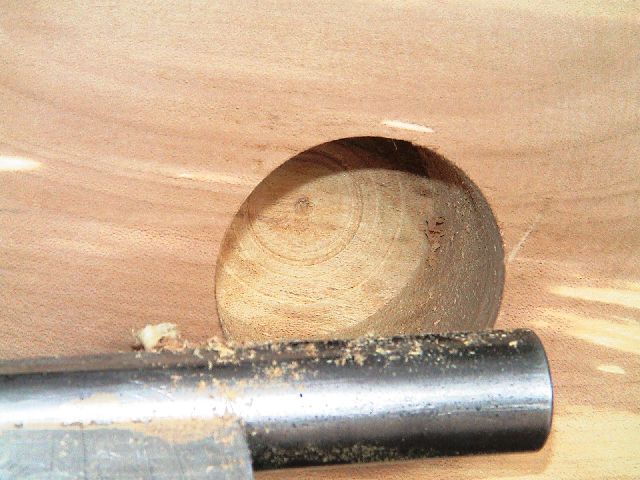
| Because I'm fortunate enough to be able to reverse my lathe I can work from a more comfortable position. | Be prepared to spend more time
removing shavings than actually cutting.
Avoid them building up and fouling your tools, causing the equivalent of a catch. |