| Preparing Segmented Blanks |
 |
 |
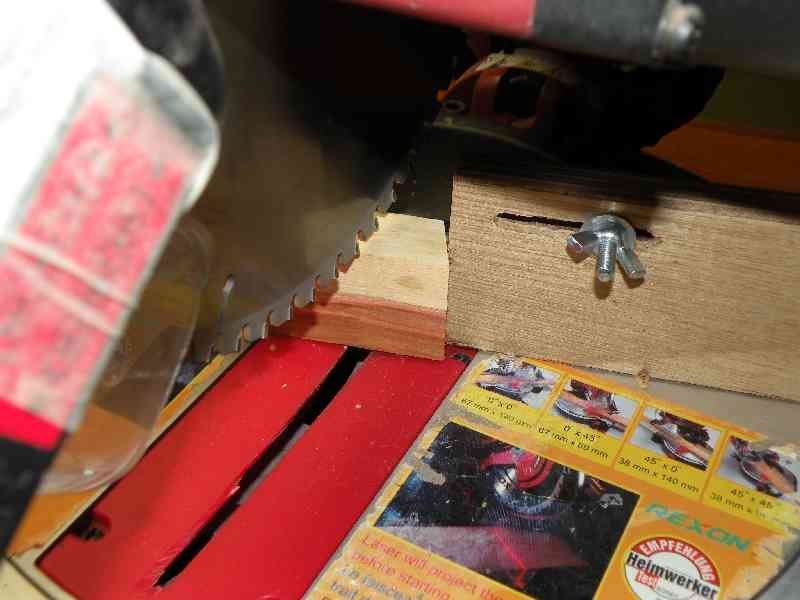 |
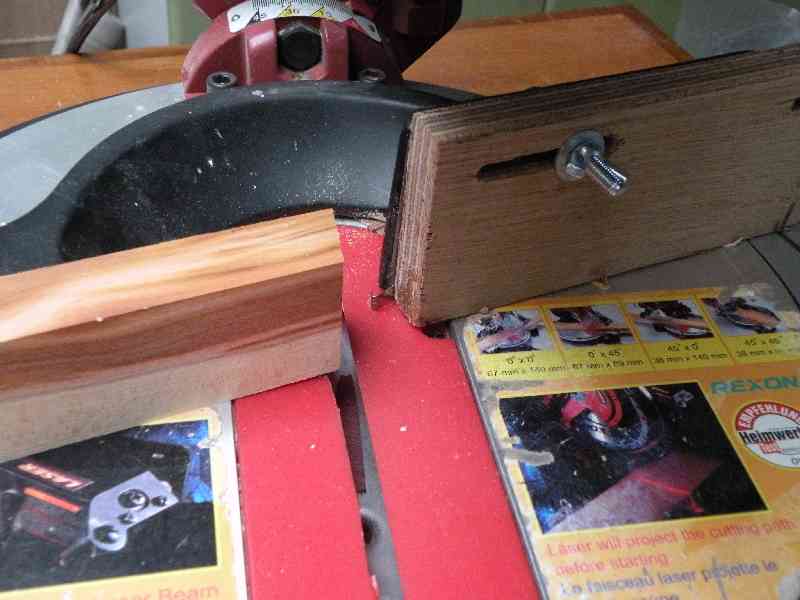
| Make sure material for segments is planed square and true. | I use a chop saw fitted with a simple plywood stop, a bit of spring steel helps push cut piece away from blade. | Once required length has been set it's a case of just turning the stock over against the stop to alternate cut direction. | |
 |
 |
 |
 |
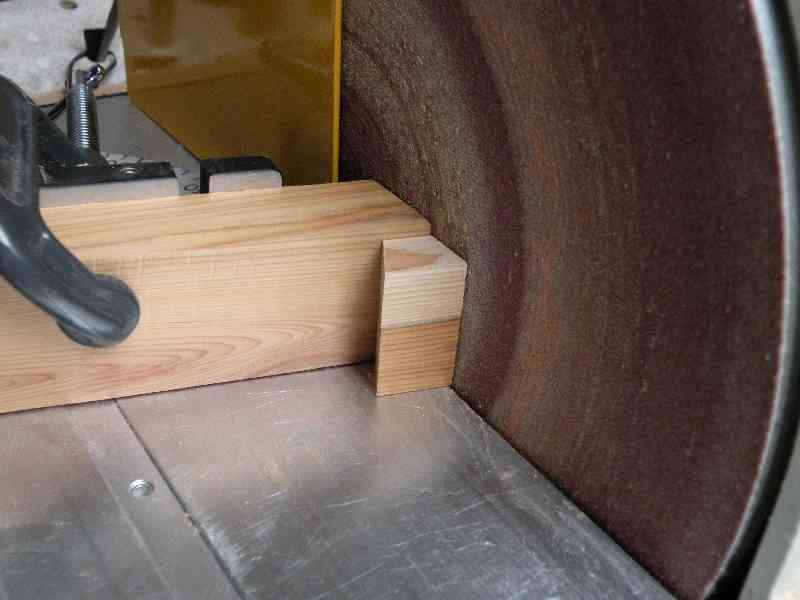
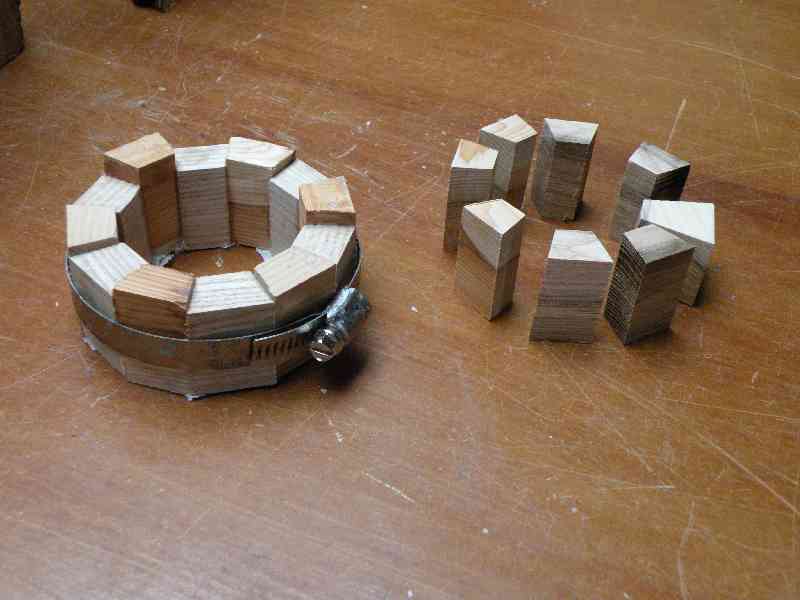
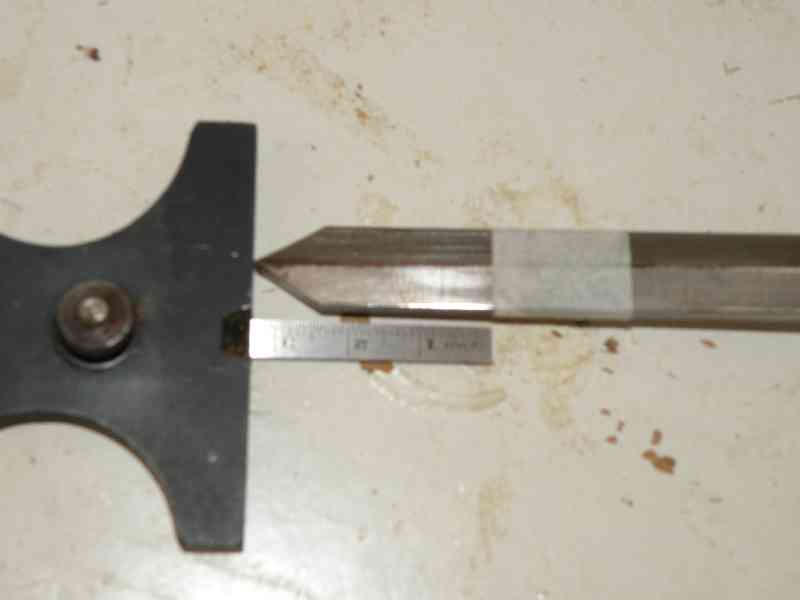
| I like to check for correct angles with the disc sander. . | Using the inner face against the fence as the reference. | I tend to do a whole batch of
similar segments whilst the machines are set up, then it's just a case of
assembling them in sets and gluing up..
|
Once glue is set they are rough turned to neaten & bored near size before setting aside to allow wood moisture levels to equalise. |
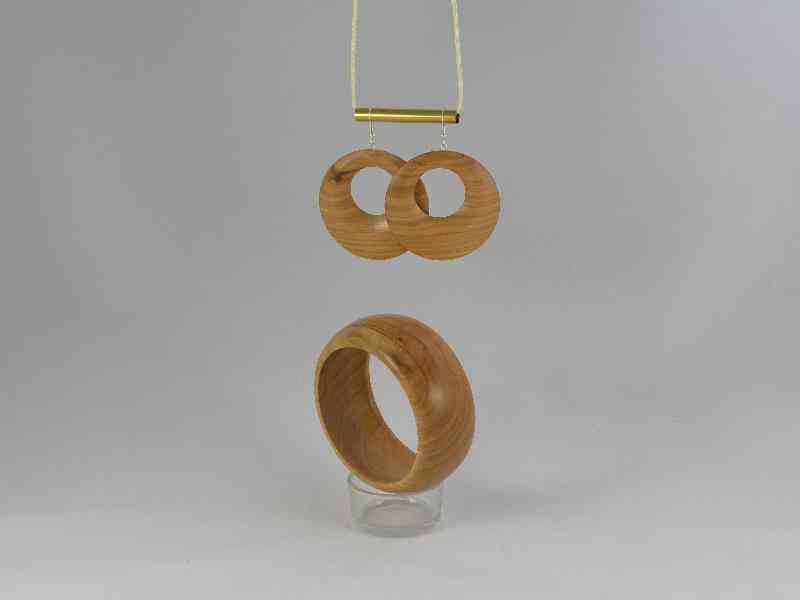
| Making a Bangle and matching wood Ear-Rings | |||
 |
 |
 |
 |
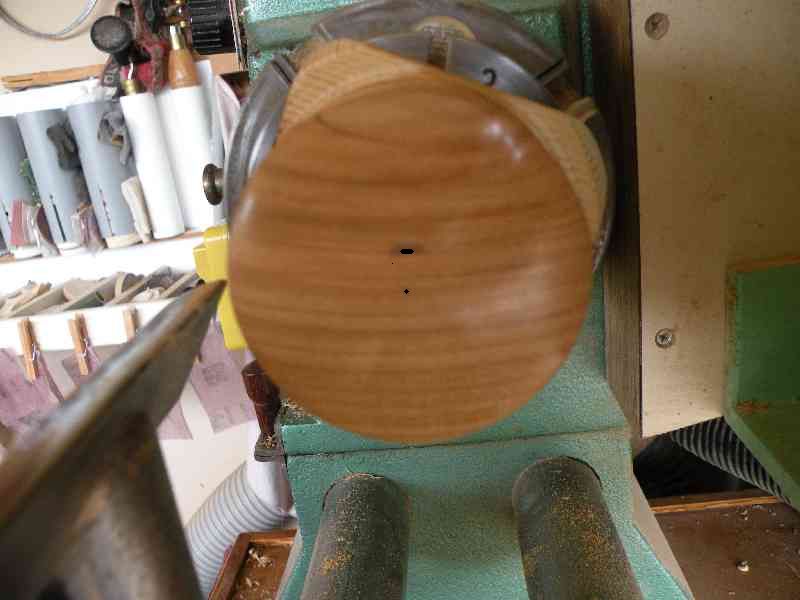
| Slice up a suitable dry log, this is Cherry that is down to 12-15% | Roughly mark out and bandsaw blanks | I work with a screw chuck so drill shallow hole to suit | Fit a piece of sacrificial wood on screw chuck |
 |
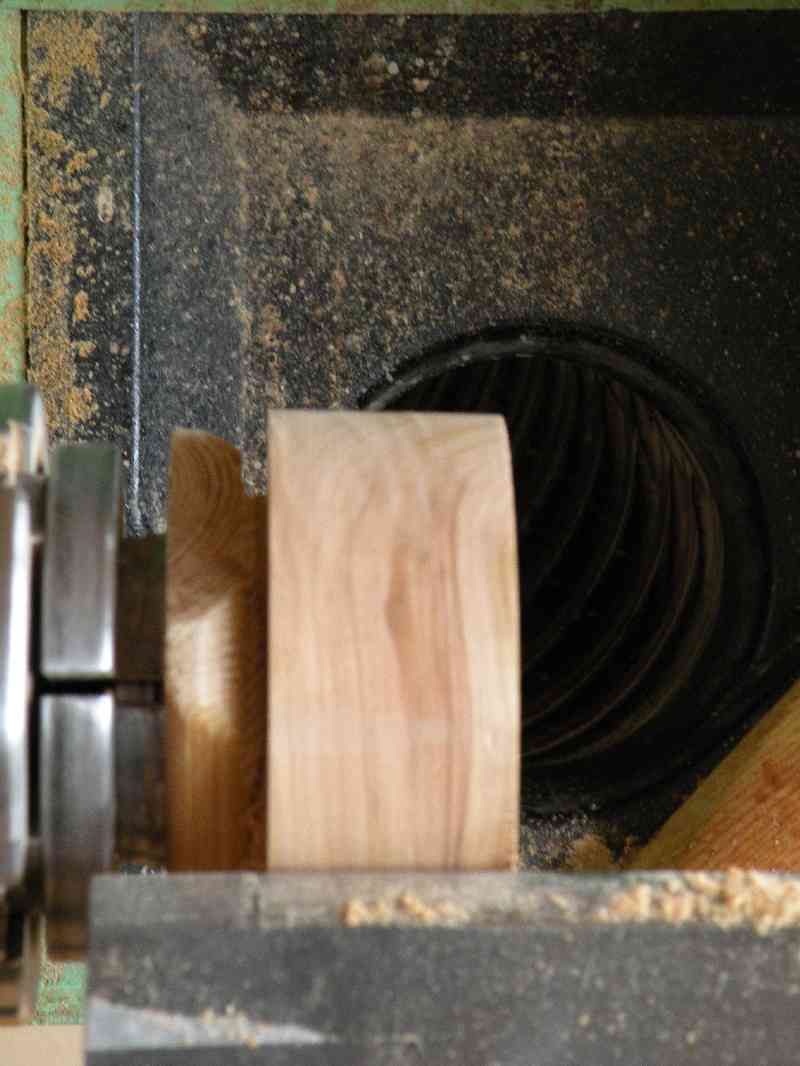 |
 |
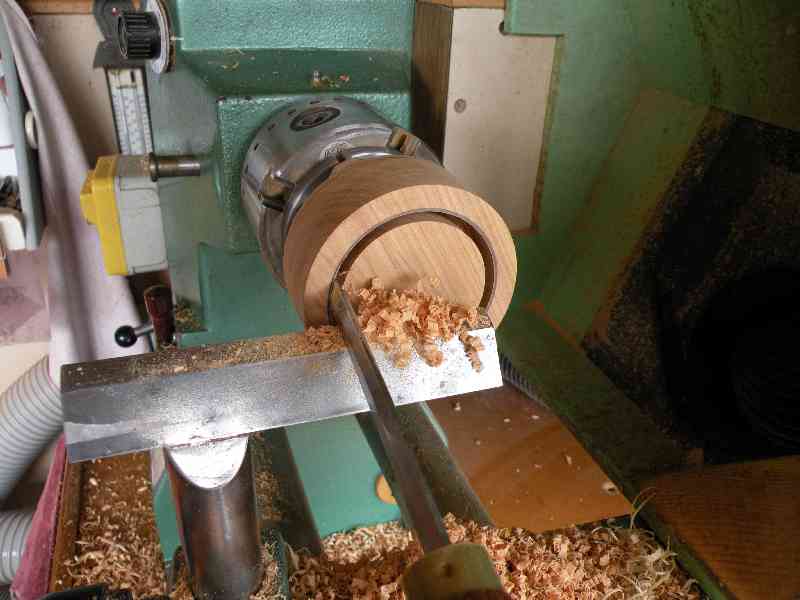 |
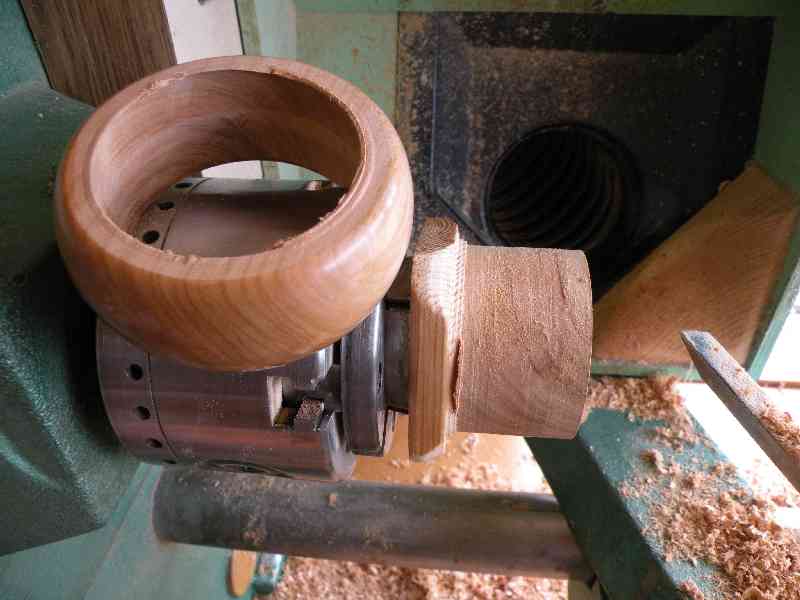
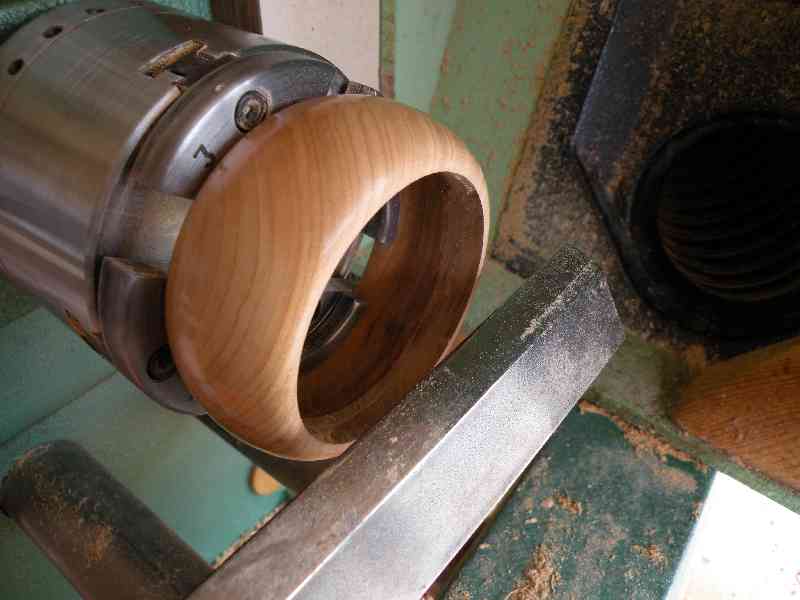
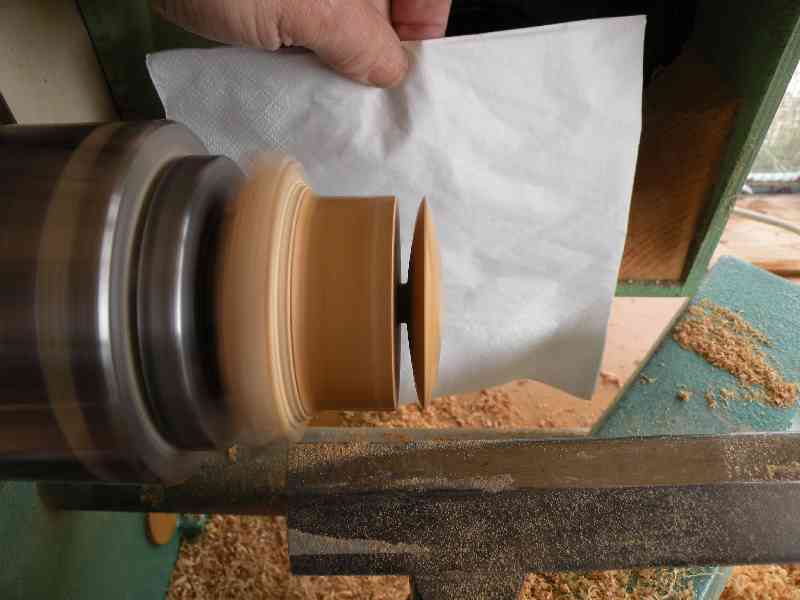
| and screw on Blank. | True up face and periphery, clean up back face with parting tool. | Mark Bore diameter, nominal 65mm for adult. | Using slim parting tool separate most of Bangle wood from core. |
 |
 |
 |
 |
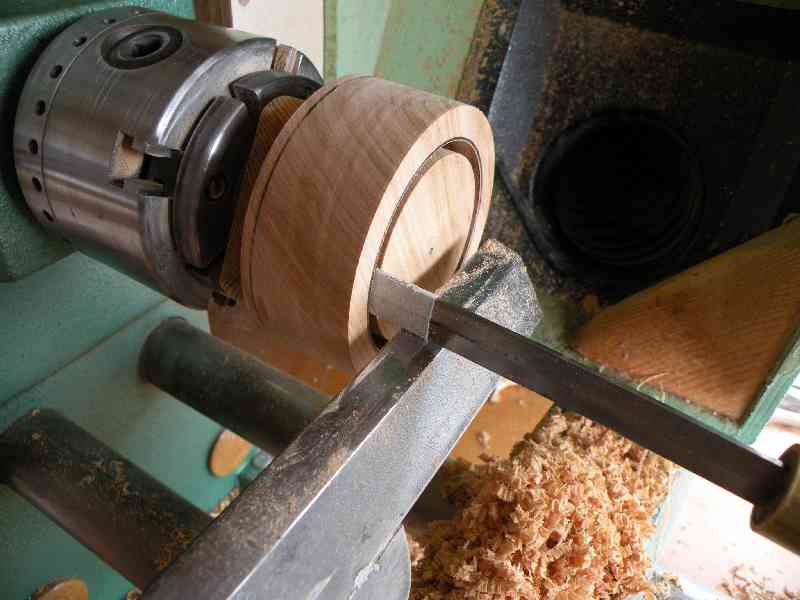
| Leave 3-4 mm of material at base of cut, don't part right through. | If doubtful about judging depth, mark parting tool with masking tape, | and use as depth guide. | Turn outer contour. |
 |
 |
 |
 |
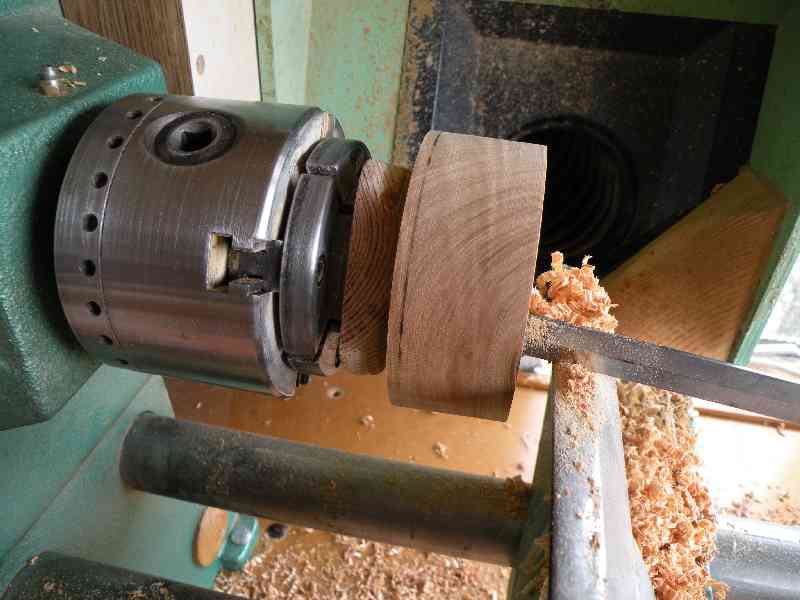
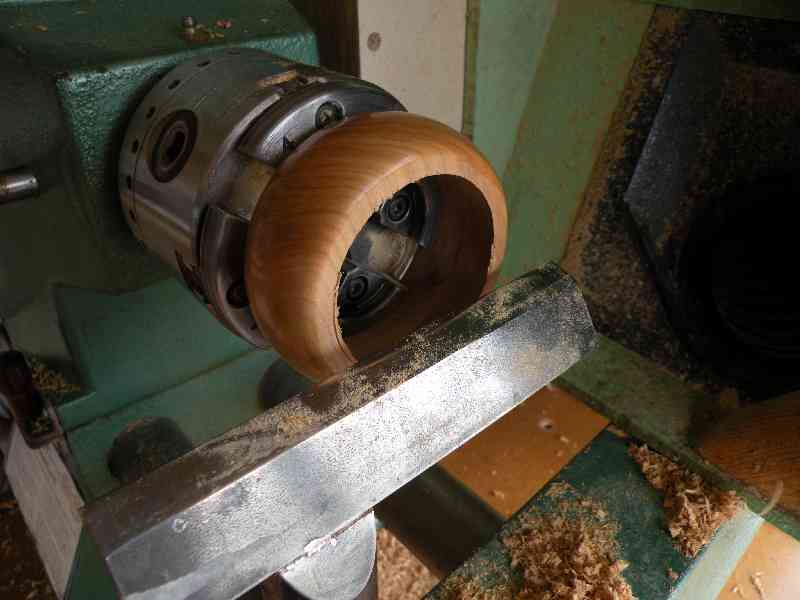
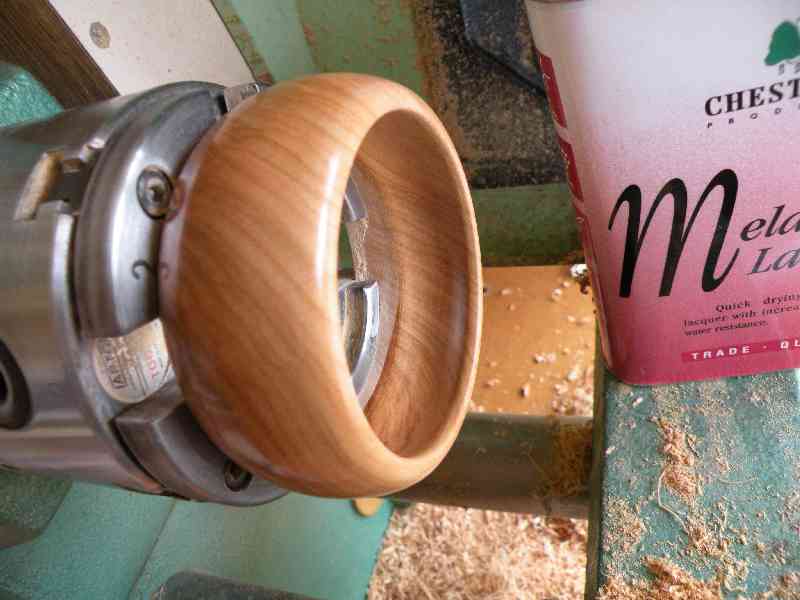
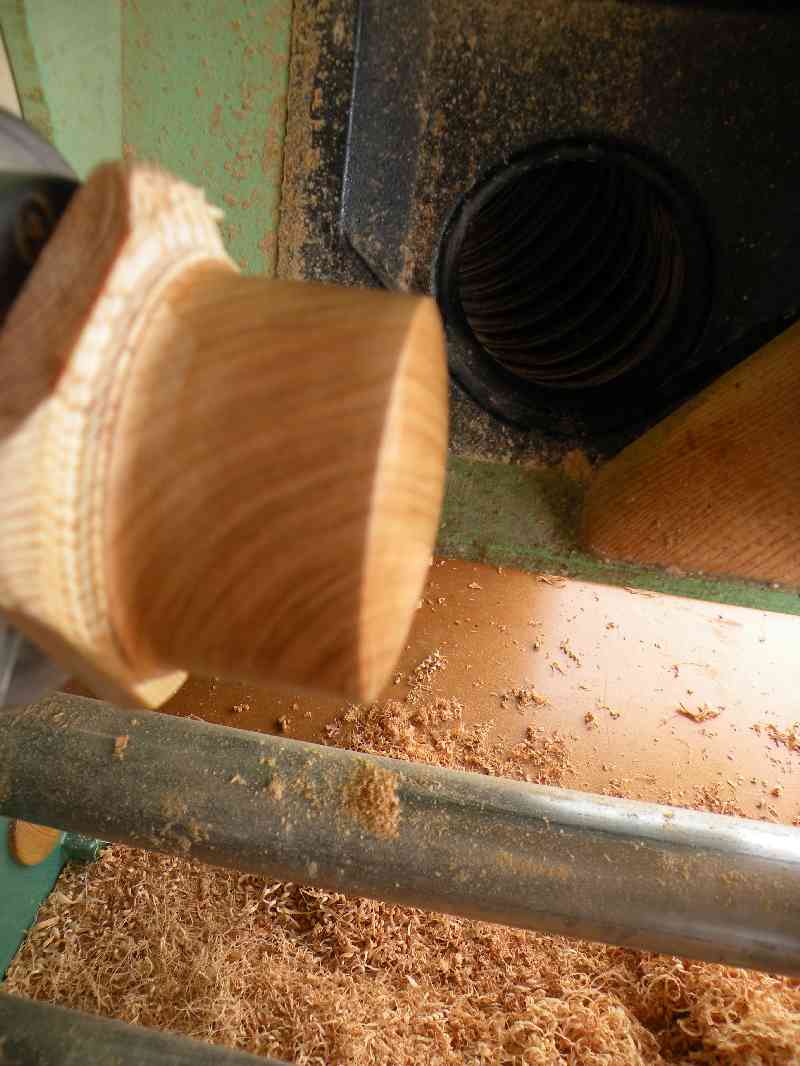
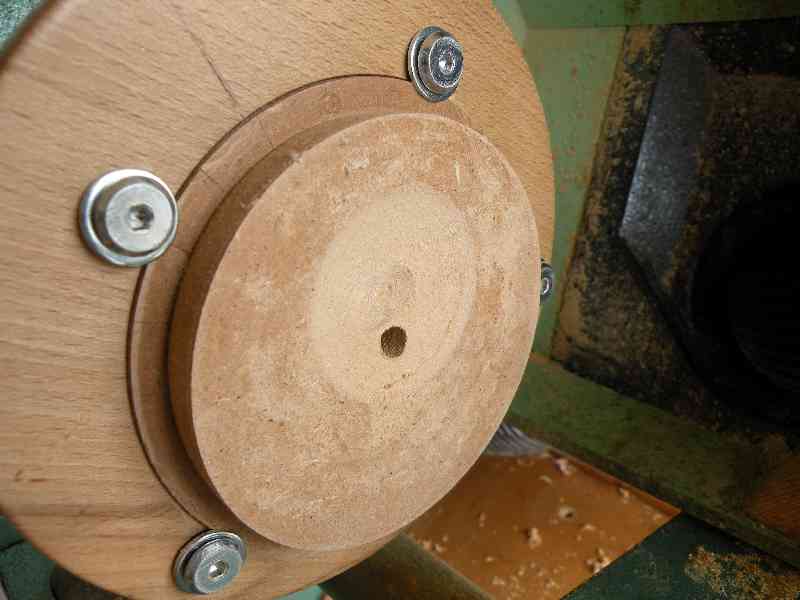
| Apply Finish, I use Melamine Lacquer. | Complete parting off, remove Screw Chuck but retaining Core on chuck for later. | Mount Bangle on Chuck Jaws and clean up parting edge and check bore size. | Using half round scraper hollow out just over half depth of bore, |
 |
 |
 |
 |
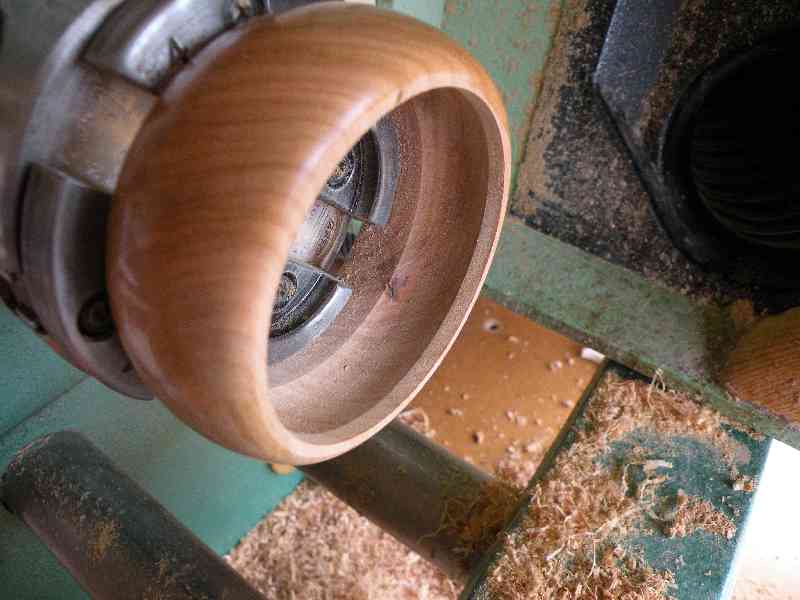
| Make sure you don't hit Jaws. I do it with lathe reversed for ease of use and vision. |
Sand and apply finish | Reverse and clean out - blend in second side. | Apply Finish. Note: Because inner rims are narrower than jaws, which are over extended, dovetail does not mark. |
| Making the Ear Rings | |||
 |
 |
 |
 |
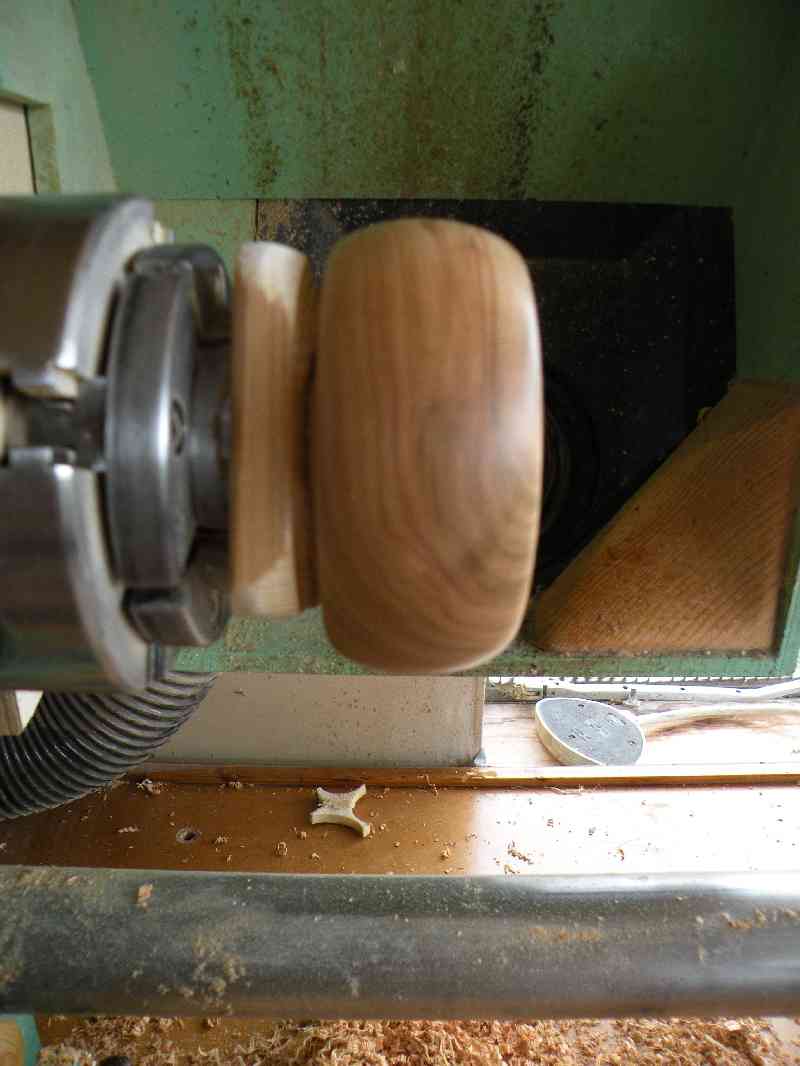
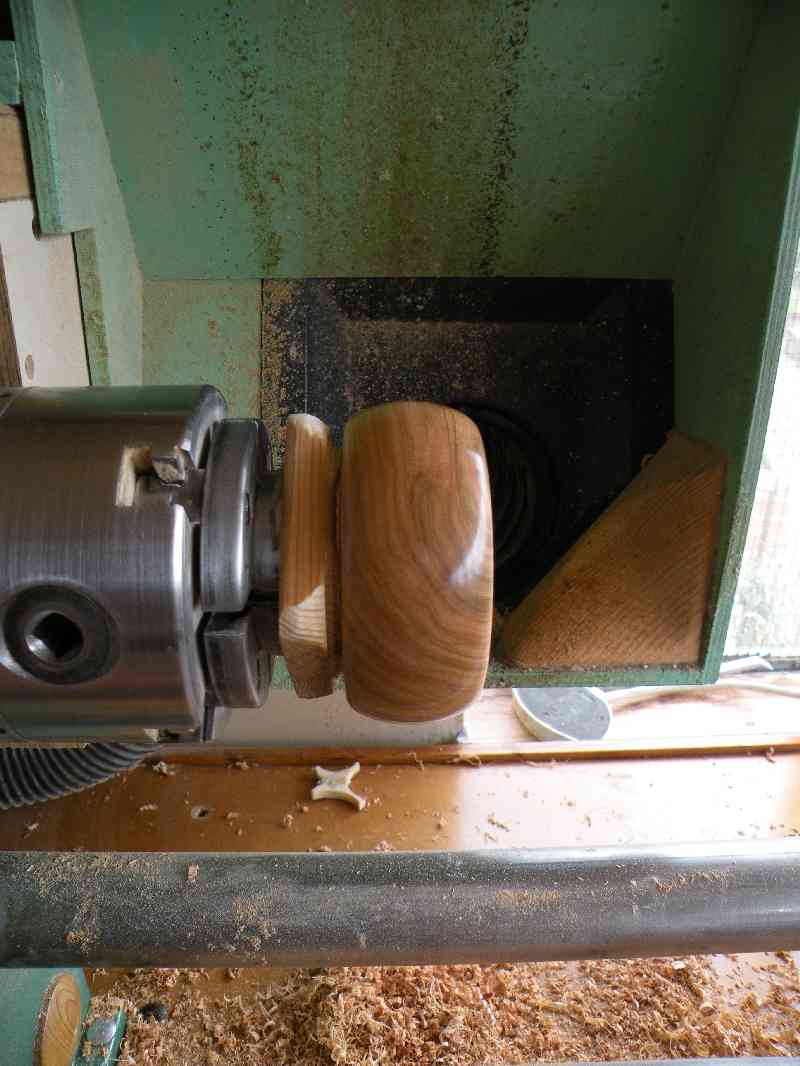
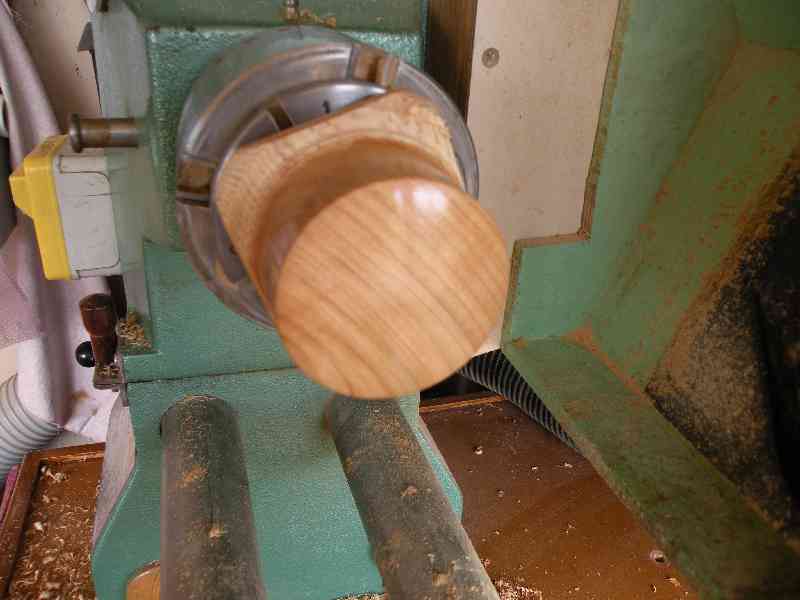
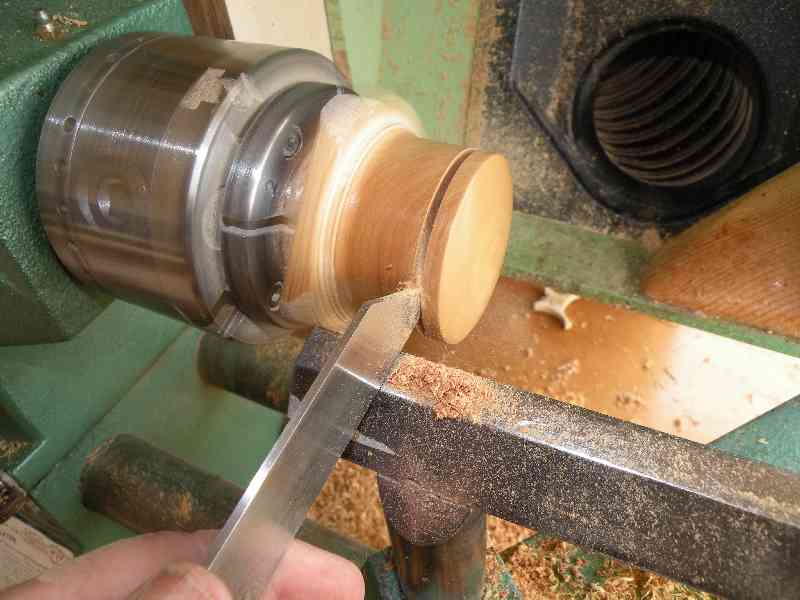
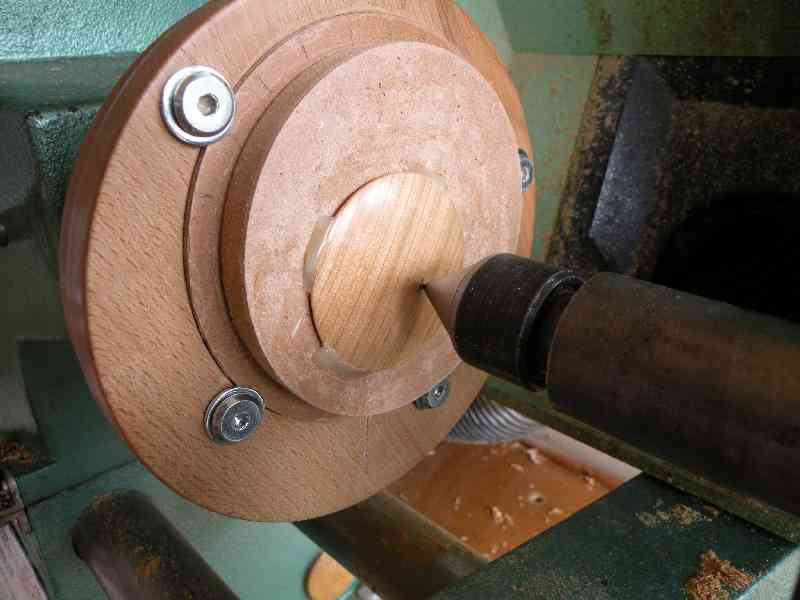
| Re-mount screw chuck & core. | Contour face and apply finish. | Make initial parting to width with narrow tool. | Contour rear face with narrow tool & sand to finish, apply finish on rear as far as possible. |
 |
 |
 |
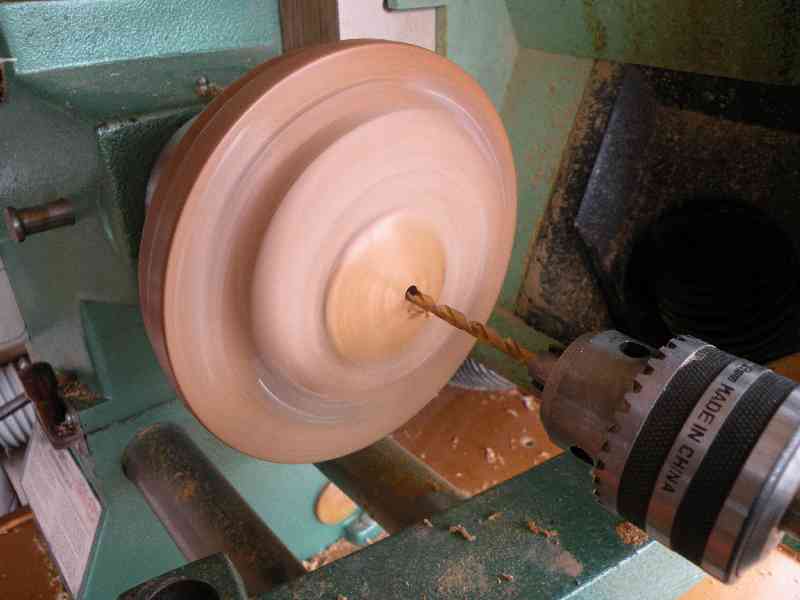 |
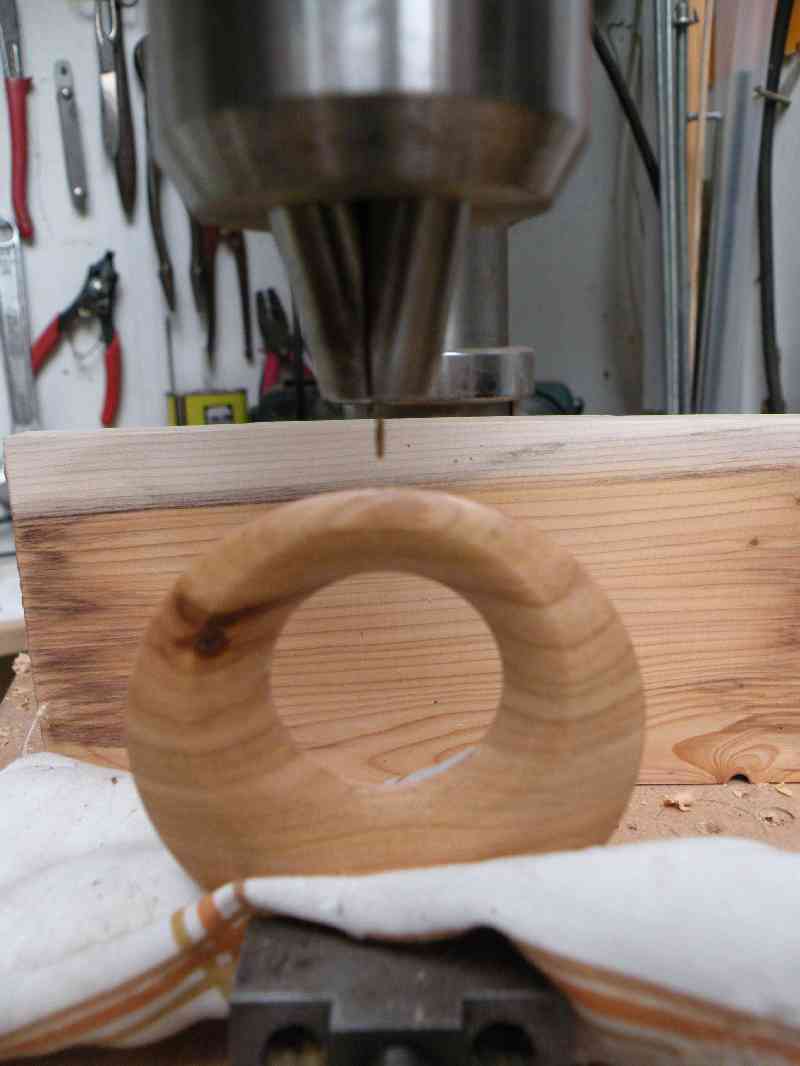
| Lightly mark centre and measure/mark offset in required direction. Complete parting off. | Prepare dished depression to suit in MDF waste. Position disc in depression, adjusting disc and chuck inner align offset point with tailstock centre. | Apply small tacks of Hot Melt Glue. | Drill pilot hole. |
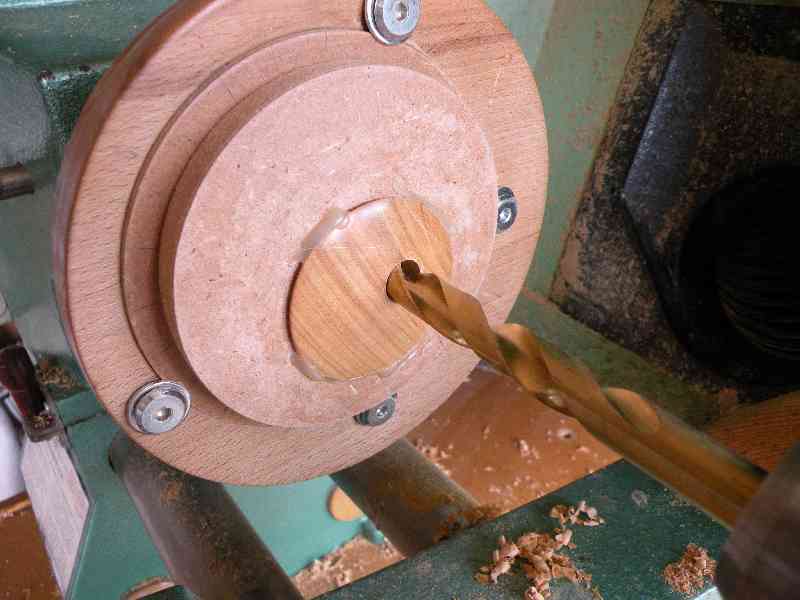 |
 |
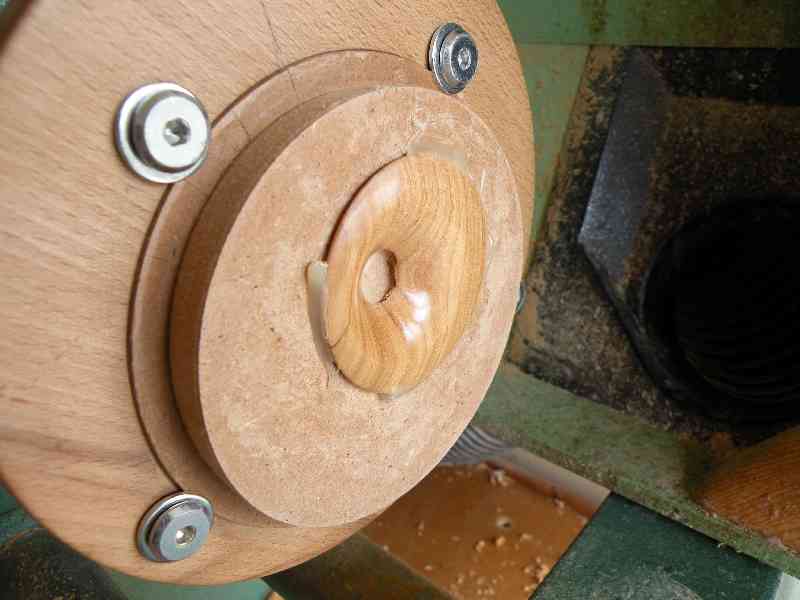 |
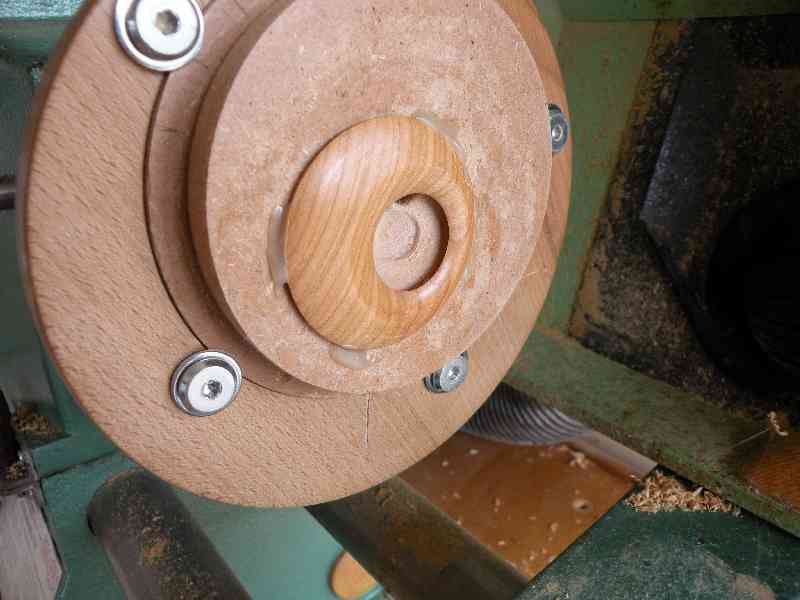
 |
| Open out, I use 13mm. | Turn inner dish to back edge of drilled hole. | Sand and apply finish. | Gently prise glue off MDF, peel glue off finished surface. |
 |
 |
 |
Note: Take care not to let abrasive wander onto Glue, friction heat will melt and smear it all over the place. |
| Reverse disc and use drill to align, re-tack with glue. | Turn and finish second side. | All that remains is to carefully drill small 1mm hole for finings eye. | |
 |
|||