| Turning a Trivet from Thin Stock | |||||||||
 |
 |
 |
 |
||||||
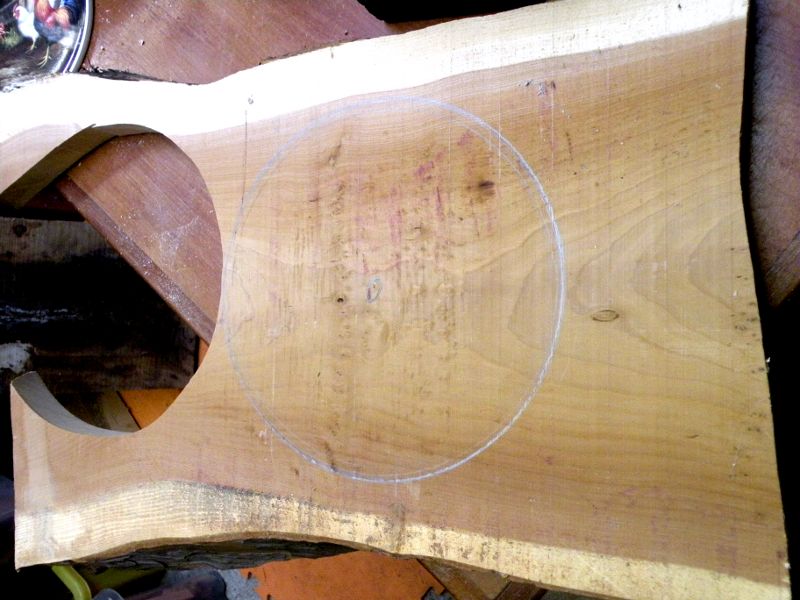
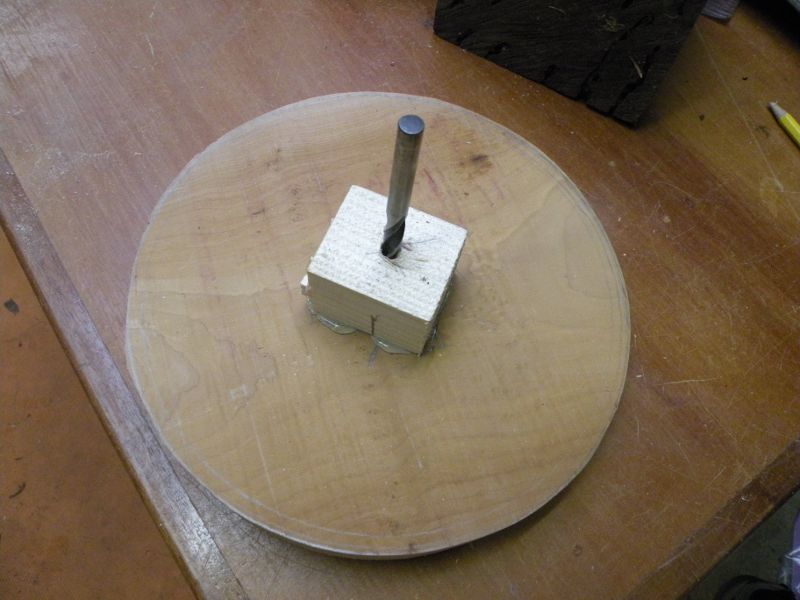
| Select timber and cut out blank. In this case 30mm (1-1/8") thick. |
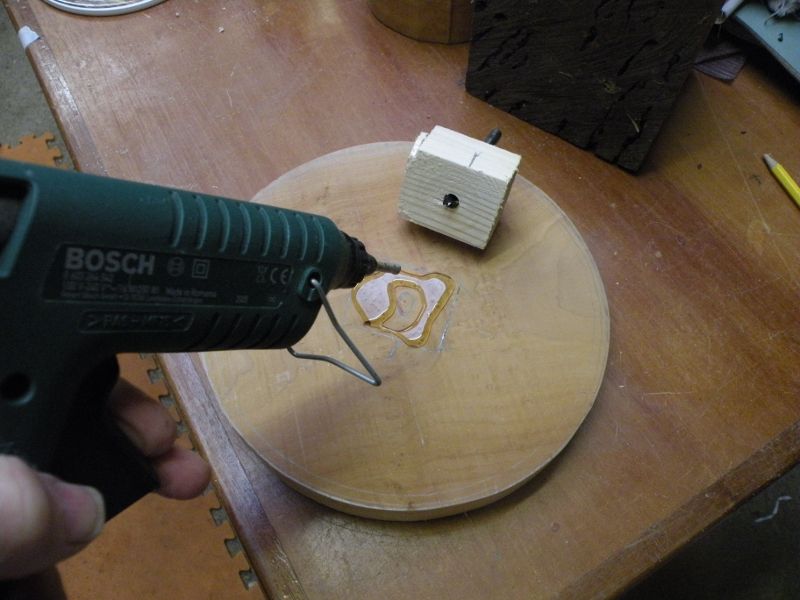
Check centre mark and prepare scrap sacrificial mounting block and drill central hole for screw chuck. | With Hot Melt Glue glue block to blank. | Using centre spur drill to aid central location on blank. | ||||||
 |
 |
 |
 |
||||||
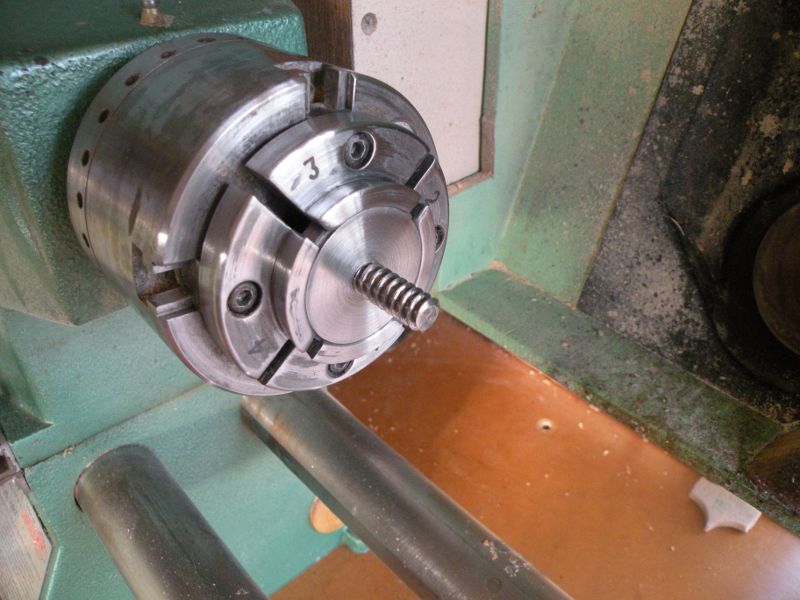
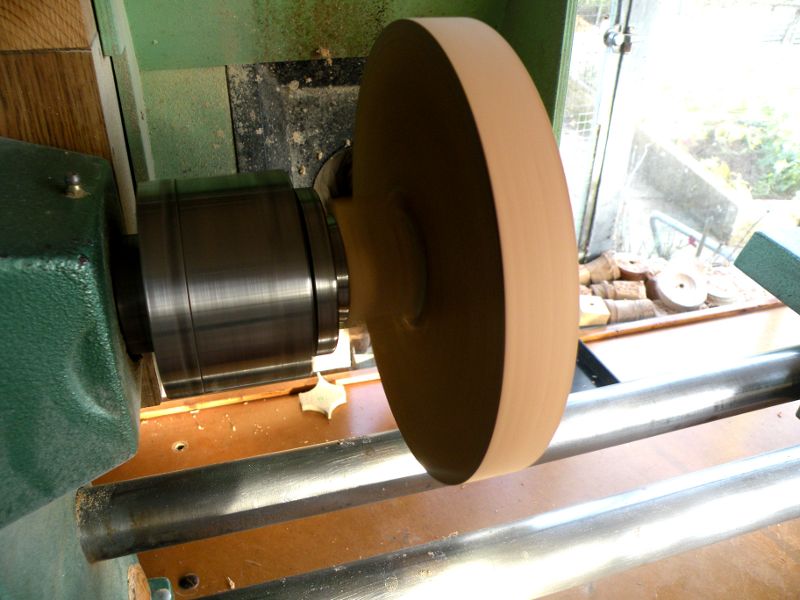
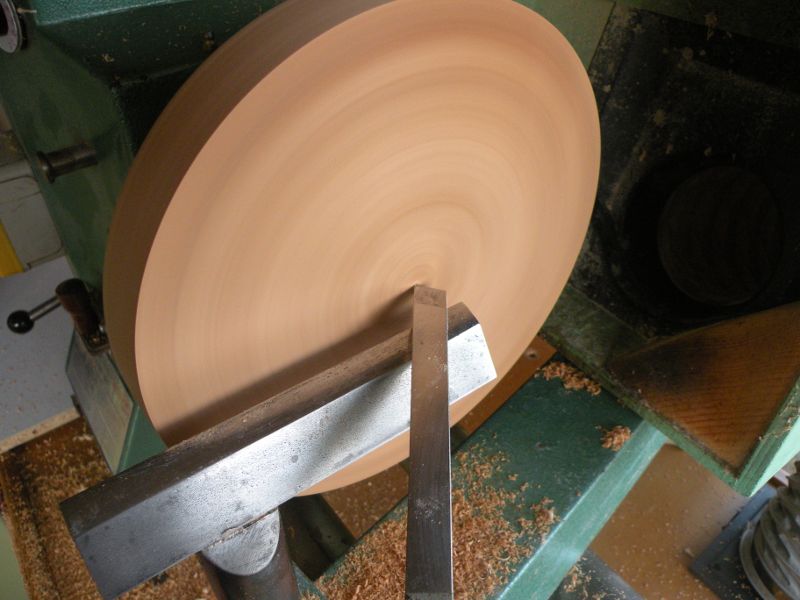
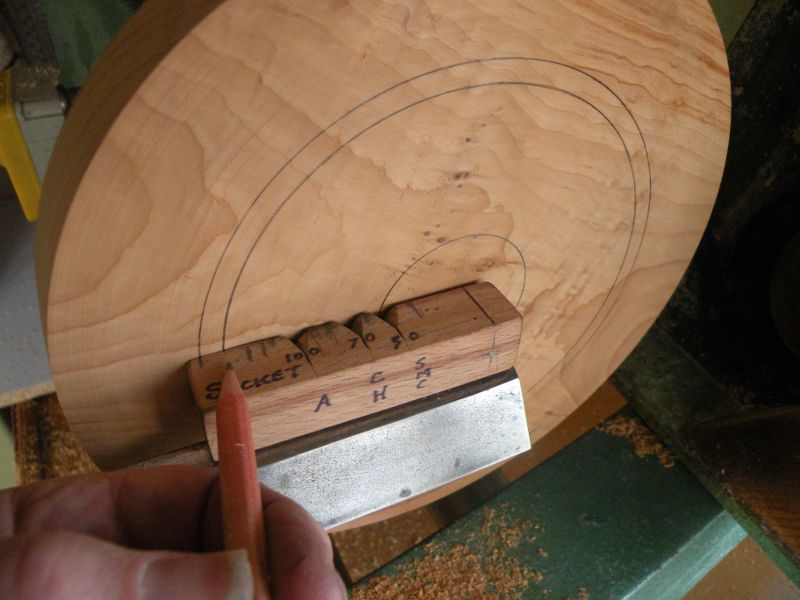
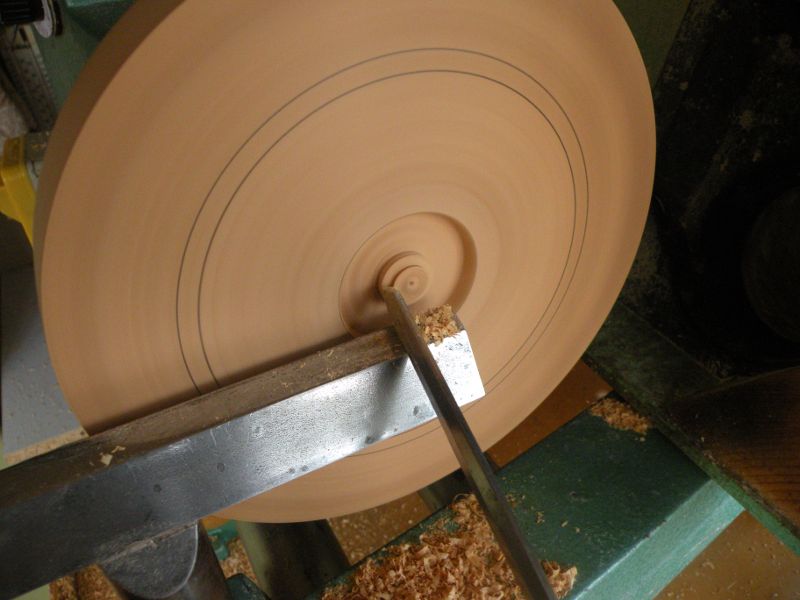
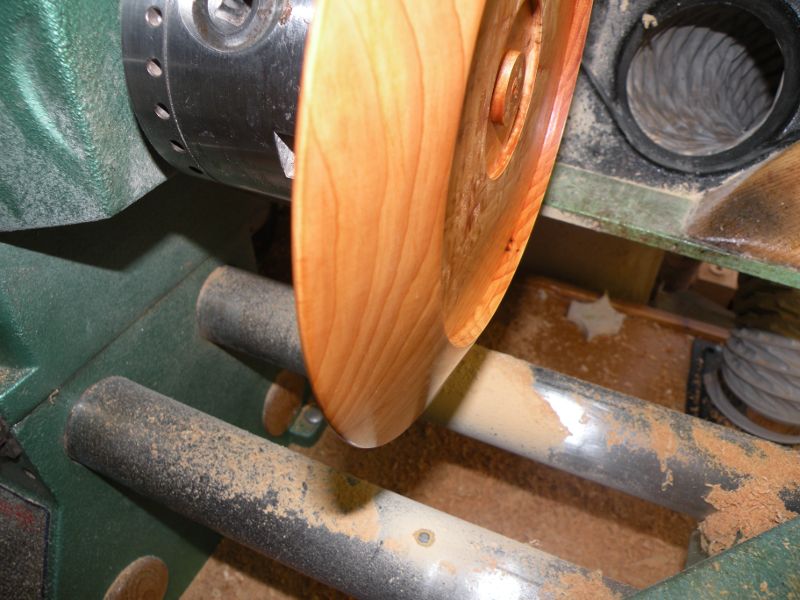
| Screw Chuck Used . | Blank mounted on chuck and trued up on edge and face. | Mark centre with point of skew.
|
Mark guide lines to suit chuck jaw socket and position of base support bead. | ||||||
 |
 |
 |
 |
||||||
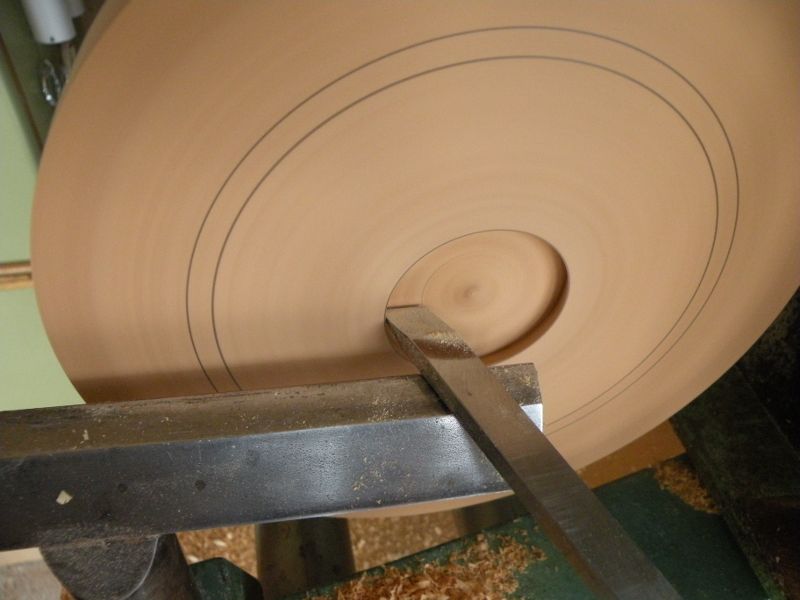
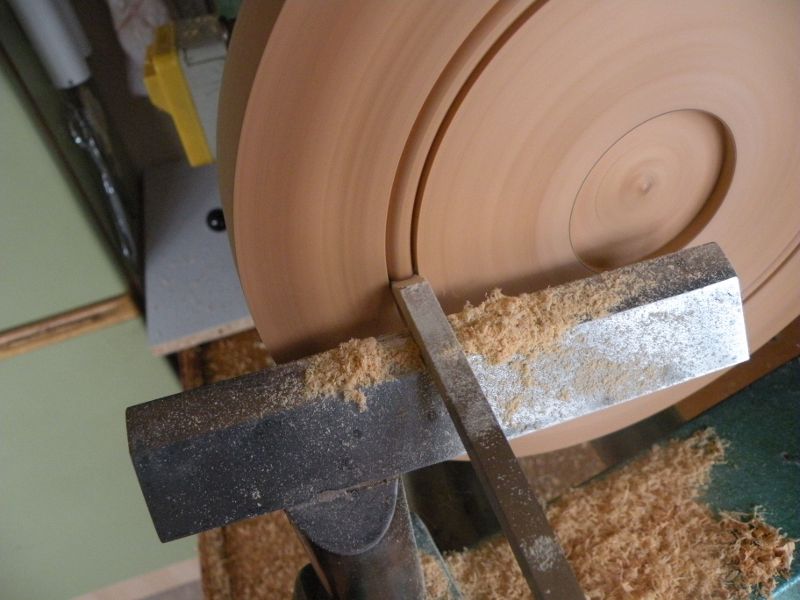
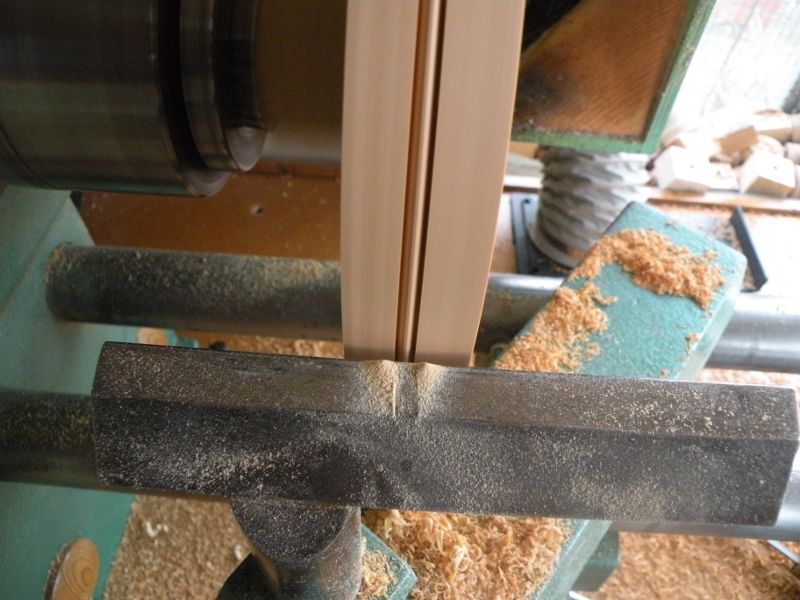
| With Parting Tool form chucking recess. | Add Dovetail Socket detail with Skew. | Form Bead with Skew or Bead Tool. | Remove a percentage of wood from inner Bead Edge towards centre. | ||||||
 |
 |
 |
 |
||||||
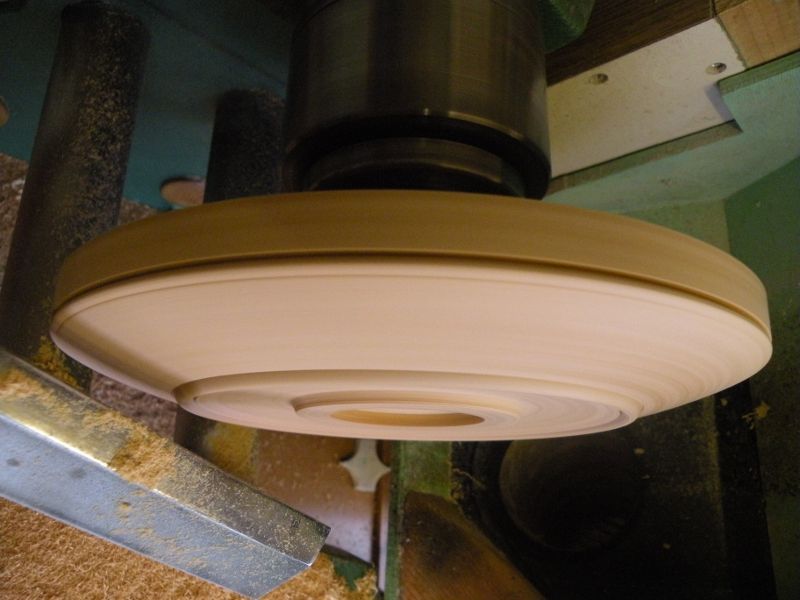
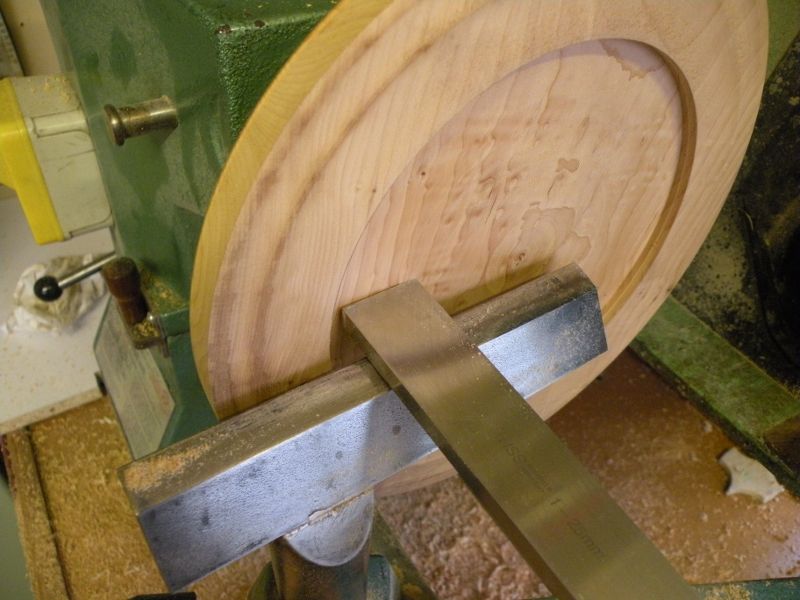
| Mark Centre of Blank Edge. | Form edge bead. Using edge bead and base bead as guide points chamfer face edge, | taking care not to cut into base bead. | Work from inner to outer in final stages. | ||||||
 |
 |
 |
 |
||||||
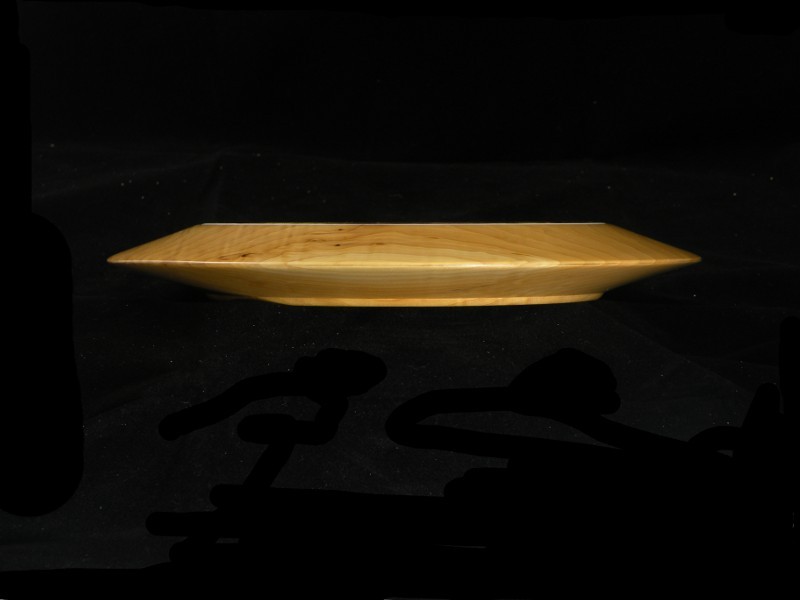
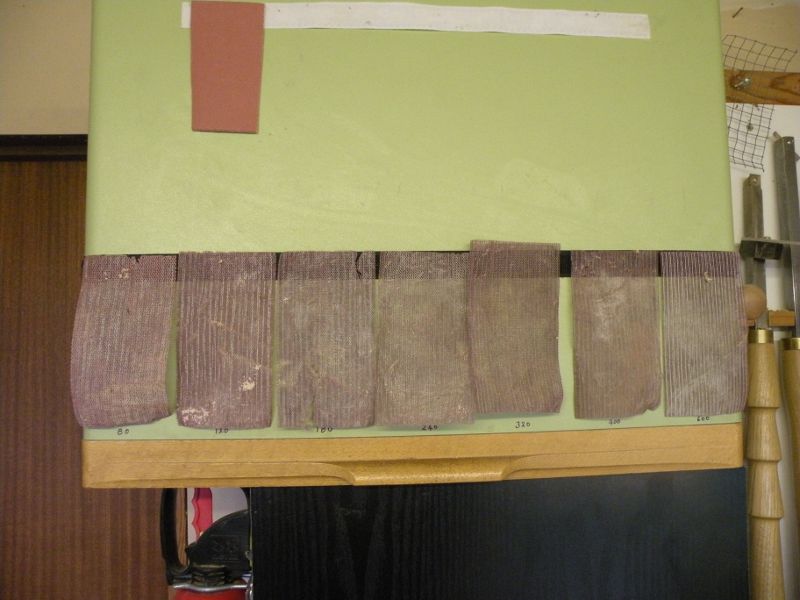
| My Abrasives selection, Grip-a-Disk and its off-cuts | Hermes and Rhino brand sheet and Abranet, | Only Hermes and G-a-D off-cuts used on this piece, starting at 180 grit. | Applying diluted Cellulose Sanding Sealer, burnishing to gloss as it dries. | ||||||
 |
 |
 |
 |
||||||
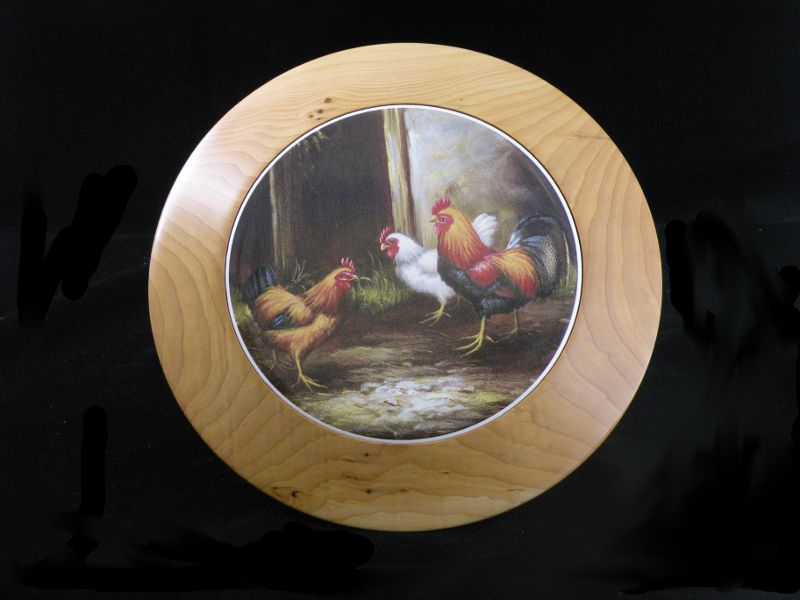
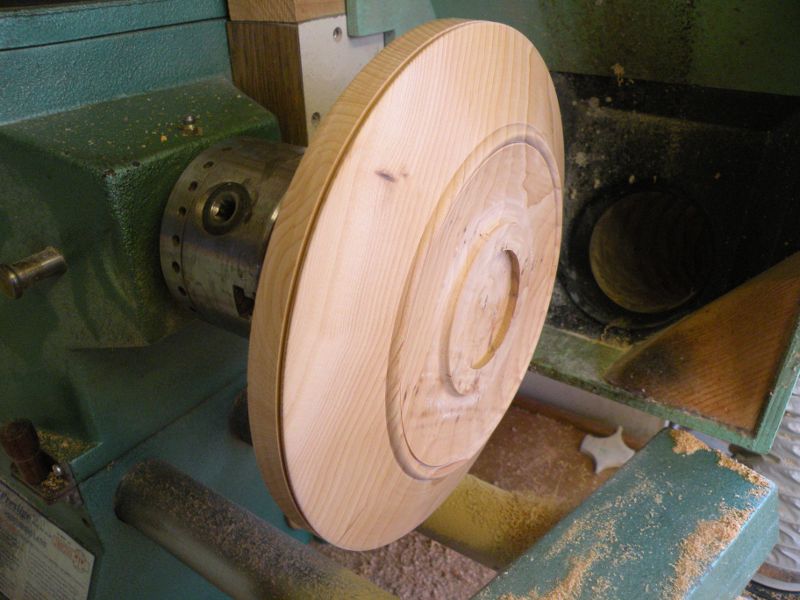
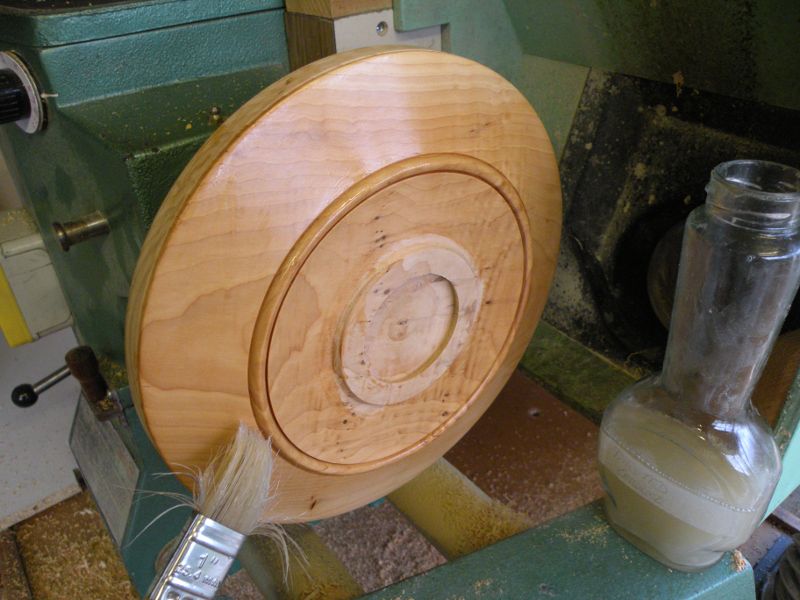
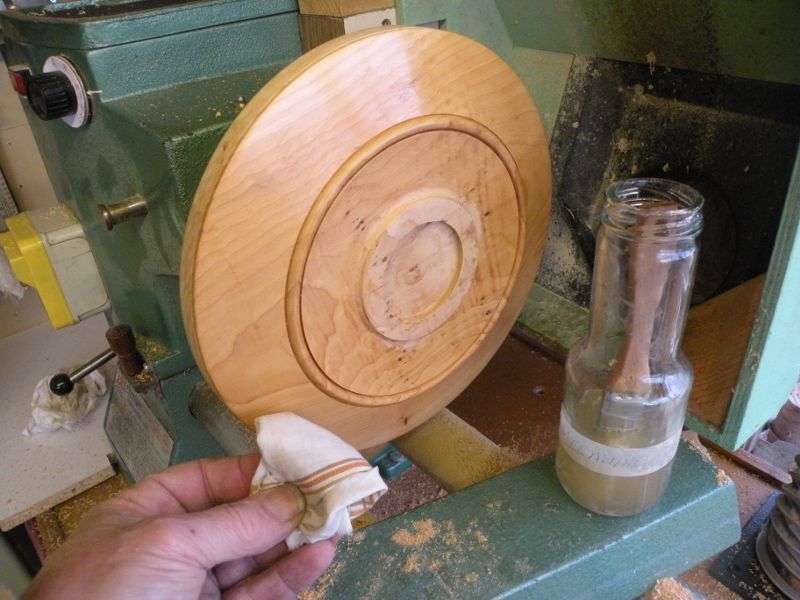
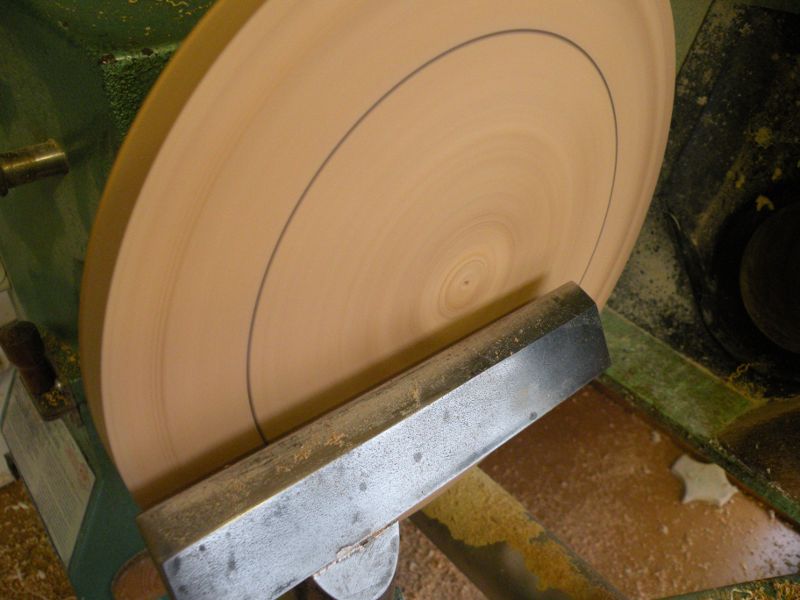
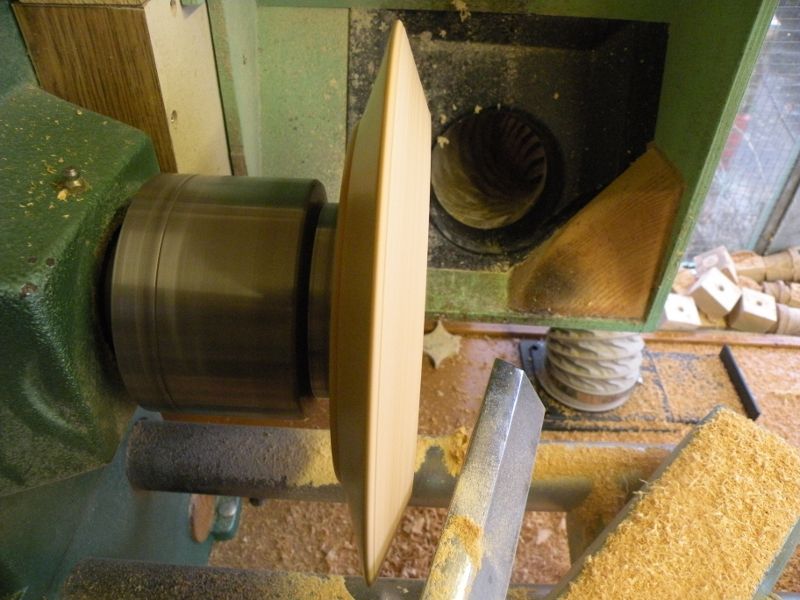
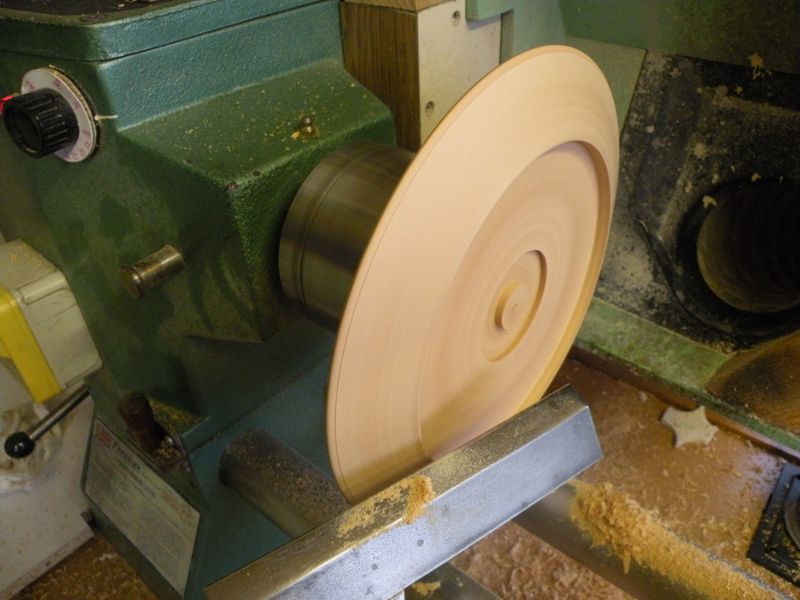
| Finish off with Melamine Lacquer again burnishing. | Avoid applying too much finish which can result in build -up streaks, blend with thinners or fine Nyweb if found. | Turn Blank around and Mount on Socket.. | Part Off waste wood and clean up face, mark Tile diameter guide. | ||||||
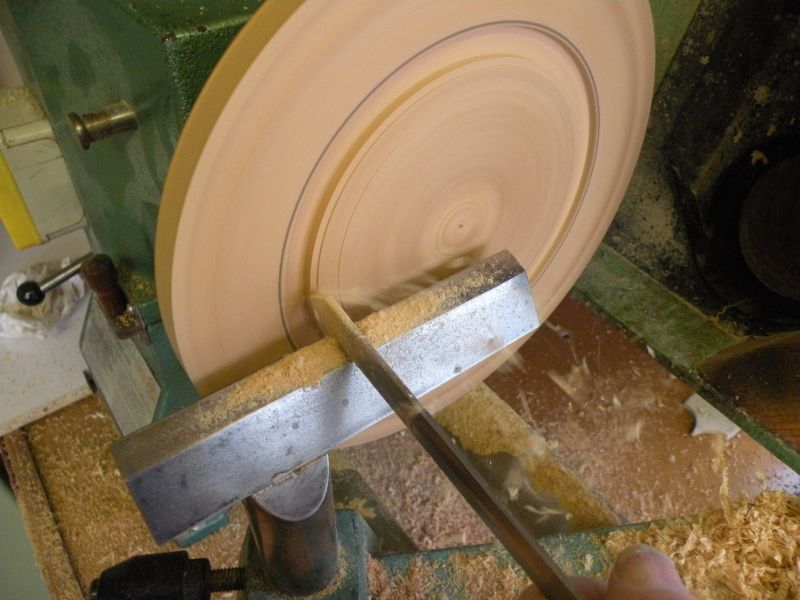 |
 |
 |
 |
||||||
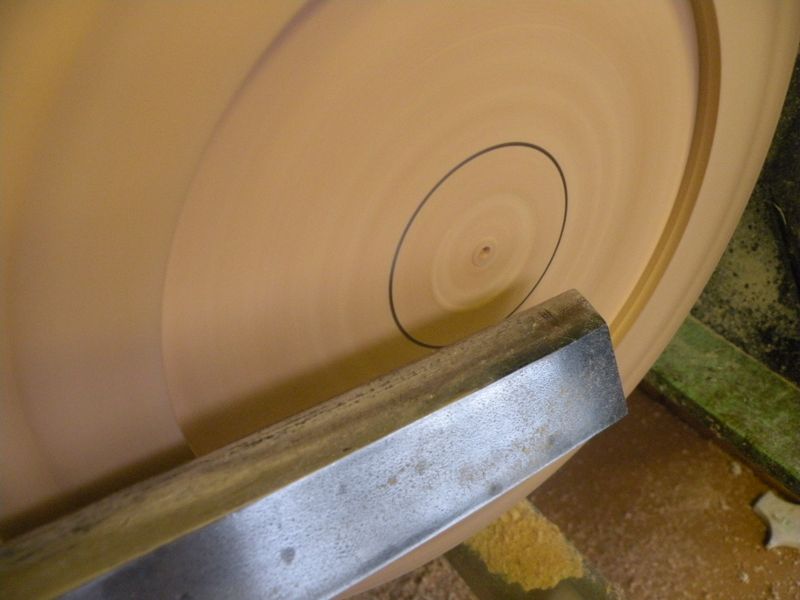
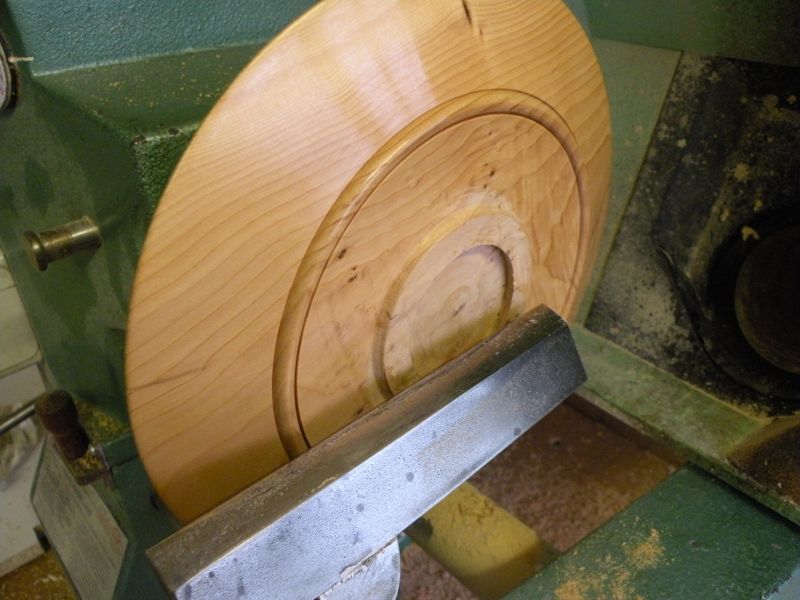
| Using Parting Tool form recess for Tile. | Use wide Scrapper to level base of recess if preferred. | If as in this case the blank is thick enough, mark for a dovetail recess. | and form sufficient to clear jaws. | ||||||
| If the Blank is not thick enough for the second dovetail then a scrap piece can be Hot Glued on for a spigot or Blank can be mounted in Cole Jaws. | |||||||||
 |
 |
 |
 |
||||||
| Chamfer front face, | between Rim Bead and Tile recess. | Finish Sand. | Seal, Finish and burnish. | ||||||
 |
 |
 |
 |
||||||
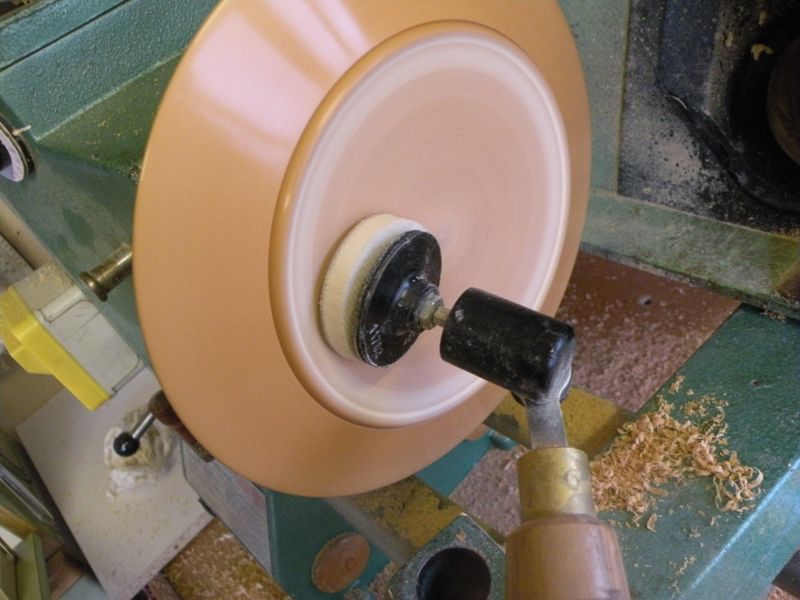
| Reverse on Chuck Jaws and finish blending inner base between bead and original chucking socket | Sand finish, use rotary friction sander to avoid sanding tracks if desired. | Apply Sealer, Finish and burnish central area. | Apply Carnauba Wax with burnishing Mop. | ||||||
|
|||||||||
|
All Pictures and text description are Copyright
© Chas Jones. 16 November. 2009 |
|||||||||